JConsole监控tomcat和jboss
Windows系统也类似,去掉双引号,将环境变量符号$JAVA_OPTS 变成现在%JAVA_OPTS %即可。
这样就能在本机使用Jconsole监控了:jconsole localhost:8950。
要实现远程监控还要与IP绑定,添加参数:
-Djava.rmi.server.hostname=192.168.10.31
若要实现使用用户名登陆,修改参数-Dcom.sun.management.jmxremote.authenticate=true;
添加启动参数:-Dcom.sun.management.jmxremote.password.file=$JAVA_HOME/jre/lib/management/jmxremote.password ;
然后进行以下配置:
1. 把 JRE_HOME/lib/management/jmxremote.password.template拷贝为jmxremote.password。
2. 去掉此目录下 jmxremote.access 最后两行的注释,这个存的就是用户名和权限。
3. 对应的,去掉 jmxremote.password 最后两行注释,这个是用户名和对应的密码。
4. 通过添加和修改这两个文件来管理登陆用户。
最后,要修改jmxremote.password文件的权限chkmod 600 jmxremote.password。
就可以在Jconsole里实现远程监控了:
远程进程 192.168.10.31:8950
或 service:jmx:rmi:///jndi/rmi://192.168.10.31:8950/jmxrmi
2、安装插件,Tools->Plugins,选择需要的插件,然后点击Install进行安装。 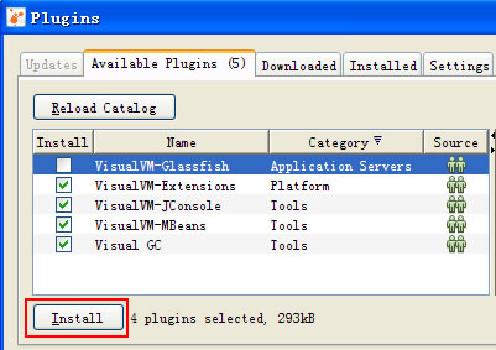
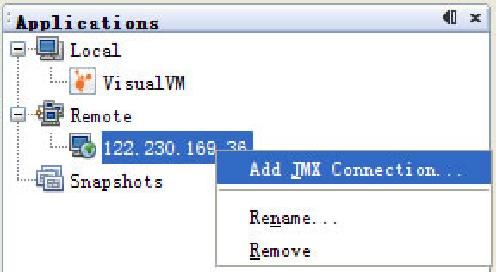
二、远程监控tomcat。
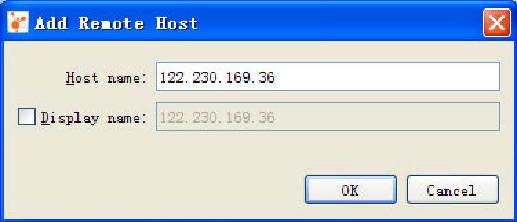
1、配置tomcat参数。为122.230.169.36上的 tomcat 配置 jvm 启动参数。在 apache-tomcat-6.0.29\bin\catalina.bat 中添加如下参数:
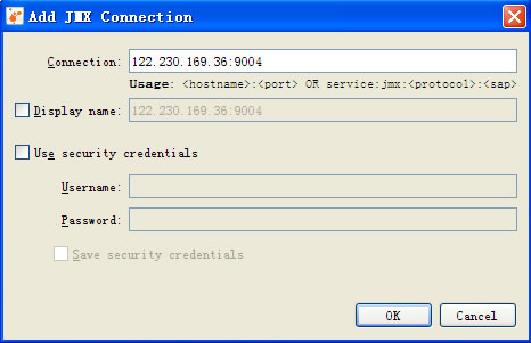
set JAVA_OPTS=-Dcom.sun.management.jmxremote -Dcom.sun.management.jmxremote.port="9004" -Dcom.sun.management.jmxremote.authenticate="false" -Dcom.sun.management.jmxremote.ssl="false"
其中-Dcom.sun.management.jmxremote.port=9004 指定了 JMX 启动的代理端口;这个端口就是 Visual VM 要连接的端口
其中-Dcom.sun.management.jmxremote.ssl="false" 指定了 JMX 是否启用ssl
其中-Dcom.sun.management.jmxremote.authenticate="false" 指定了 JMX 是否启用权限校验(需要用户名,密码)
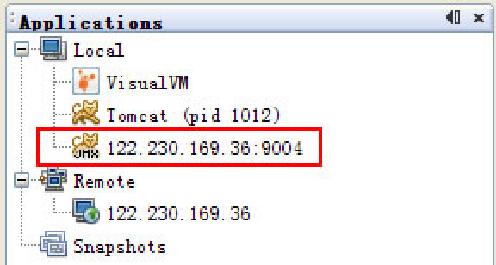
2、启动apache-tomcat-6.0.29\bin\startup.bat,完成tomcat的启动。
3、启动jvisualvm。 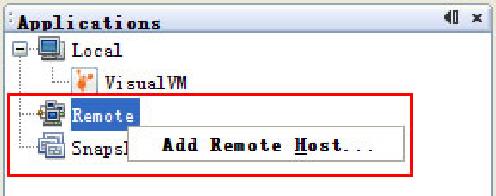
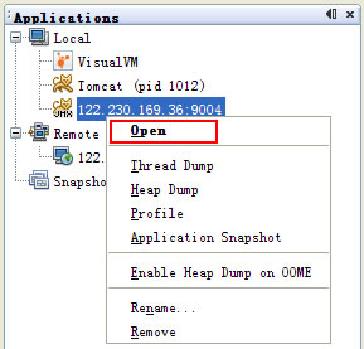
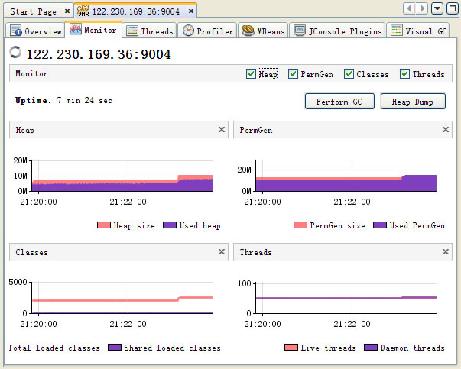
4、Monitor、Threads、Profiler 、MBeans、Visual GC,都可以正常的显示了,唯独JConsole plugin不正常,显示如下内容。
JConsole Plugins not available.
The paths to the jar files of the JConsole plugins to look up can be specified using the "Plugins Path" option.
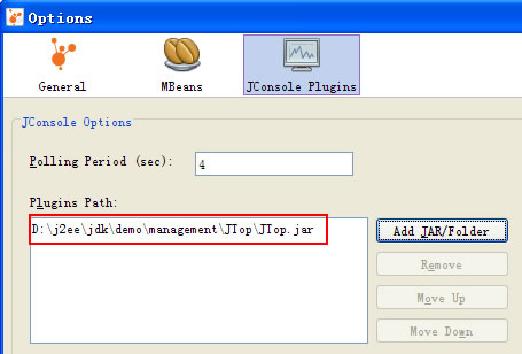
Choose "Tools > Options" from the main menu, then click on the "JConsole Plugins" icon.
配置方法:按照提示,Tools > Options,点击JConsole Plugins,点击Add JAR/Folder,添加JAVA_HOME/demo/management/JTop/JTop.jar,然后点击ok完成设置,最后关闭jvisualvm.exe,重新启动jvisualvm.exe,重新打开监控页面,可以看到JConsole已经正常工作了。