MVVM简易计算器(上)

hey,guys。好久没更新博客了,我是你们的小雨老师。今天给大家讲MVVM模式。
Model——View——ViewModel简称MVVM
Model——View——Controller简称MVC
其实MVVM模式跟我们的MVC模式原理是一样的。
下面我们做一个简单的计算器来看看这种模式,我们的计算器没必要写那么复杂,我们就写一个加法计算器,主要还是想让大家理解下MVVM这种模式
首先,我们设计下界面:
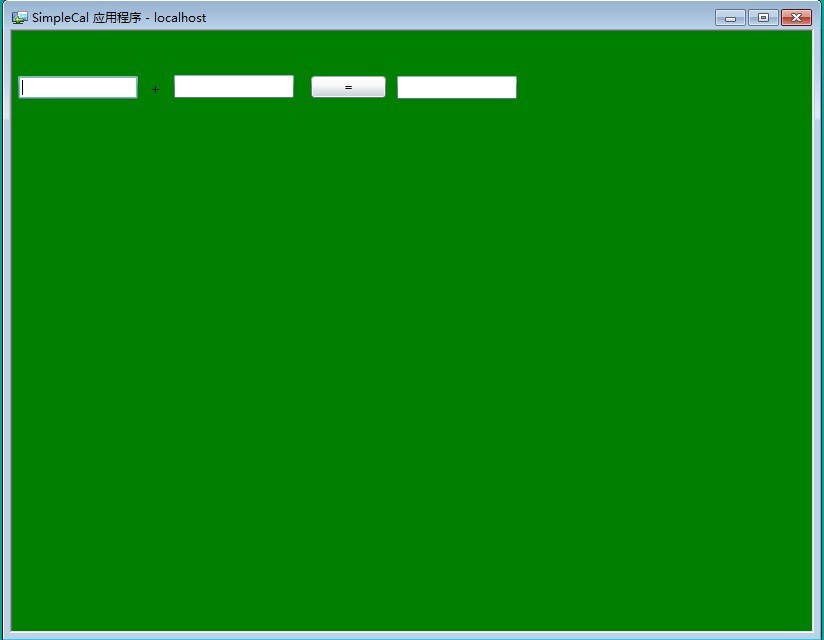
代码如下:
<UserControl x:Class="SimpleCal.MainPage"
xmlns="http://schemas.microsoft.com/winfx/2006/xaml/presentation"
xmlns:x="http://schemas.microsoft.com/winfx/2006/xaml"
xmlns:d="http://schemas.microsoft.com/expression/blend/2008"
xmlns:mc="http://schemas.openxmlformats.org/markup-compatibility/2006"
mc:Ignorable="d"
d:DesignHeight="480" d:DesignWidth="600">
<Grid x:Name="LayoutRoot" Background="Green">
<TextBox Name="tbNum1" HorizontalAlignment="Left" Height="23" Margin="6,45,0,0" TextWrapping="Wrap" VerticalAlignment="Top" Width="120"/>
<TextBox Name="tbNum2" HorizontalAlignment="Left" Height="23" Margin="162,44,0,0" TextWrapping="Wrap" VerticalAlignment="Top" Width="120"/>
<TextBox Name="tbResult" HorizontalAlignment="Left" Height="23" Margin="385,45,0,0" TextWrapping="Wrap" VerticalAlignment="Top" Width="120"/>
<TextBlock HorizontalAlignment="Left" Margin="139,50,0,0" TextWrapping="Wrap" Text="+" VerticalAlignment="Top"/>
<Button Content="=" HorizontalAlignment="Left" Margin="299,45,0,0" VerticalAlignment="Top" Width="75"/>
</Grid>
</UserControl>
==============================================================================
我们先看建一个model文件夹,里面有一个CalModel类作为我们的model层,
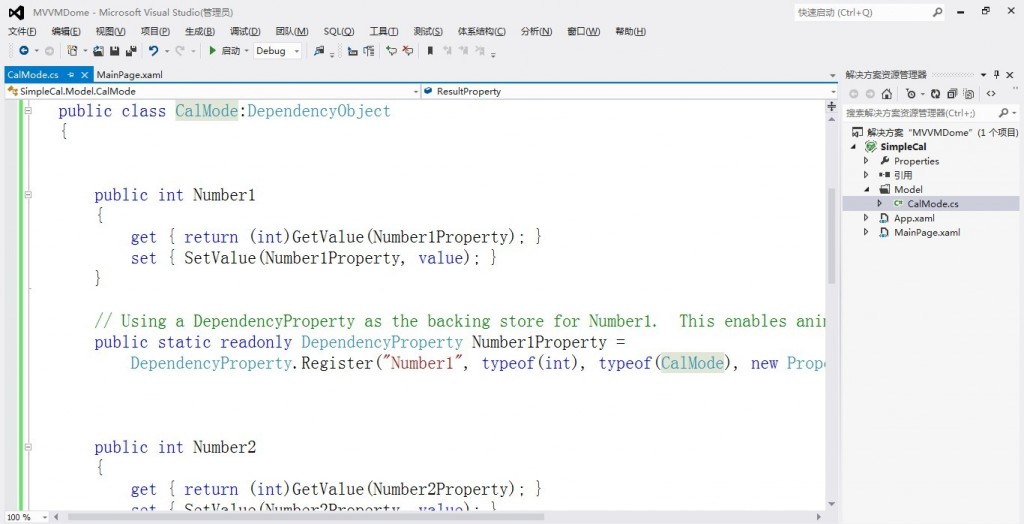
代码如下:
using System;
using System.Net;
using System.Windows;
using System.Windows.Controls;
using System.Windows.Documents;
using System.Windows.Ink;
using System.Windows.Input;
using System.Windows.Media;
using System.Windows.Media.Animation;
using System.Windows.Shapes;
namespace SimpleCal.Model
{
public class CalMode:DependencyObject
{
public int Number1
{
get { return (int)GetValue(Number1Property); }
set { SetValue(Number1Property, value); }
}
// Using a DependencyProperty as the backing store for Number1. This enables animation, styling, binding, etc...
public static readonly DependencyProperty Number1Property =
DependencyProperty.Register("Number1", typeof(int), typeof(CalMode), new PropertyMetadata(0));
public int Number2
{
get { return (int)GetValue(Number2Property); }
set { SetValue(Number2Property, value); }
}
// Using a DependencyProperty as the backing store for Number2. This enables animation, styling, binding, etc...
public static readonly DependencyProperty Number2Property =
DependencyProperty.Register("Number2", typeof(int), typeof(CalMode), new PropertyMetadata(0));
public int Result
{
get { return (int)GetValue(ResultProperty); }
set { SetValue(ResultProperty, value); }
}
// Using a DependencyProperty as the backing store for Result. This enables animation, styling, binding, etc...
public static readonly DependencyProperty ResultProperty =
DependencyProperty.Register("Result", typeof(int), typeof(CalMode), new PropertyMetadata(0));
}
}
=================================================================================
然后我们新建一个ViewModel文件夹,里面有一个CalViewModel类,
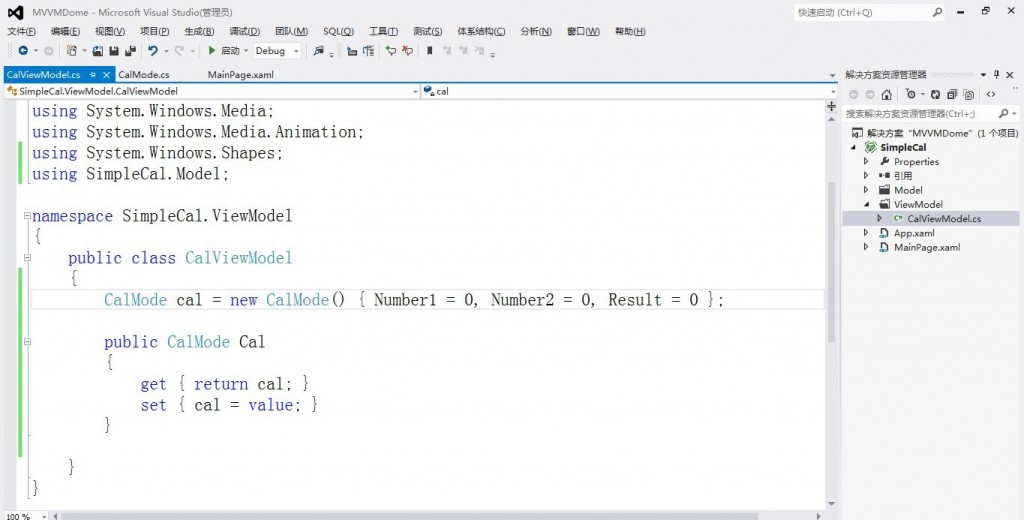
代码如下:
using System;
using System.Net;
using System.Windows;
using System.Windows.Controls;
using System.Windows.Documents;
using System.Windows.Ink;
using System.Windows.Input;
using System.Windows.Media;
using System.Windows.Media.Animation;
using System.Windows.Shapes;
using SimpleCal.Model;
namespace SimpleCal.ViewModel
{
public class CalViewModel
{
CalMode cal = new CalMode() { Number1 = 0, Number2 = 0, Result = 0 };
public CalMode Cal
{
get { return cal; }
set { cal = value; }
}
}
}
=============================================================================
下面,我们在MainPage.xaml.cs中实例化一个CalViewModel的对象,并且将CalViewModel的Cal属性赋值给LayoutRoot的DataContext,代码如下:
using System;
using System.Collections.Generic;
using System.Linq;
using System.Net;
using System.Windows;
using System.Windows.Controls;
using System.Windows.Documents;
using System.Windows.Input;
using System.Windows.Media;
using System.Windows.Media.Animation;
using System.Windows.Shapes;
namespace SimpleCal
{
public partial class MainPage : UserControl
{
ViewModel.CalViewModel calView = new ViewModel.CalViewModel();
public MainPage()
{
InitializeComponent();
}
private void LayoutRoot_Loaded(object sender, RoutedEventArgs e)
{
LayoutRoot.DataContext = calView;
}
private void Button_Click_1(object sender, RoutedEventArgs e)
{
calView.Cal.Result = calView.Cal.Number1 + calView.Cal.Number2;
}
}
}
========================================================
然后,我们去前台绑定下:
<UserControl x:Class="SimpleCal.MainPage"
xmlns="http://schemas.microsoft.com/winfx/2006/xaml/presentation"
xmlns:x="http://schemas.microsoft.com/winfx/2006/xaml"
xmlns:d="http://schemas.microsoft.com/expression/blend/2008"
xmlns:mc="http://schemas.openxmlformats.org/markup-compatibility/2006"
mc:Ignorable="d"
d:DesignHeight="480" d:DesignWidth="600">
<Grid x:Name="LayoutRoot" Background="Green" Loaded="LayoutRoot_Loaded">
<TextBox Name="tbNum1" Text="{Binding Cal.Number1,Mode=TwoWay}" HorizontalAlignment="Left" Height="23" Margin="6,45,0,0" TextWrapping="Wrap" VerticalAlignment="Top" Width="120"/>
<TextBox Name="tbNum2" Text="{Binding Cal.Number2, Mode=TwoWay}" HorizontalAlignment="Left" Height="23" Margin="162,44,0,0" TextWrapping="Wrap" VerticalAlignment="Top" Width="120"/>
<TextBox Name="tbResult" Text="{Binding Cal.Result,Mode=TwoWay}" HorizontalAlignment="Left" Height="23" Margin="385,45,0,0" TextWrapping="Wrap" VerticalAlignment="Top" Width="120"/>
<TextBlock HorizontalAlignment="Left" Margin="139,50,0,0" TextWrapping="Wrap" Text="+" VerticalAlignment="Top"/>
<Button Content="=" HorizontalAlignment="Left" Margin="299,45,0,0" VerticalAlignment="Top" Width="75" Click="Button_Click_1" />
</Grid>
</UserControl>
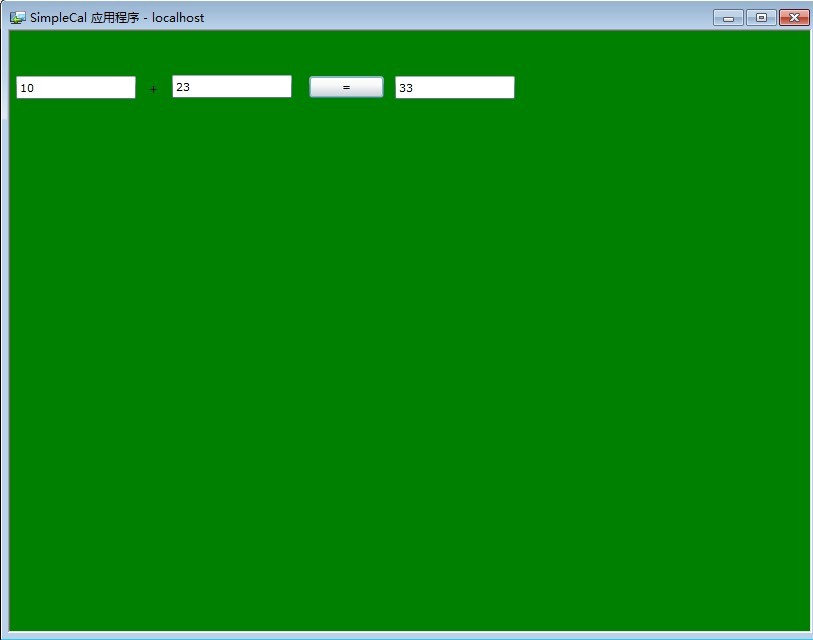
OK,大功告成。