一 Nginx(Win32) 配置详解
1、下载:http://nginx.org/en/download.html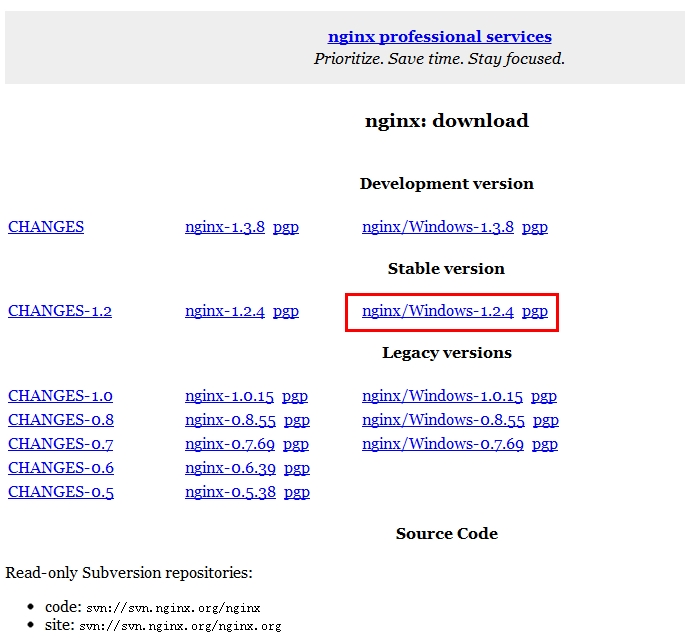
解压缩nginx-1.2.4.zip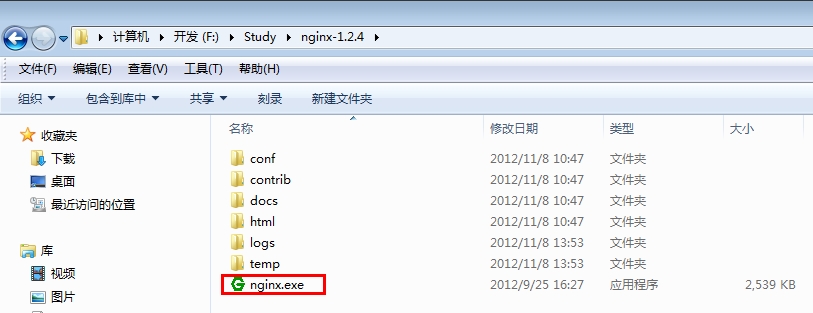
2运行nginx.exe
打开“任务管理器”
会看到产生了两个进程: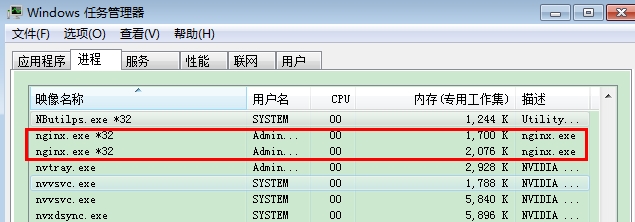
一个进程是主过程,另一个是工作进程。
3、在浏览器中输入:http://localhost或者http://127.0.0.1
会看到如下页面,说明Nginx启动成功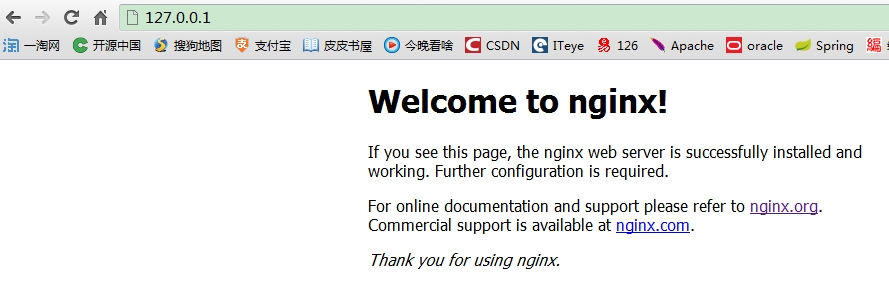
4、常用基本命令:
#定义Nginx运行的用户及组,如user www www;#user nobody;#定义启动进程数,一般配置为小于cpu数worker_processes 1;#全局错误日志及PID文件 #error_log logs/error.log;#error_log logs/error.log notice;#error_log logs/error.log info;#pid logs/nginx.pid;#工作模式及连接数上限 events { #use epoll;#参考事件模型 worker_connections 1024;}#设定http服务器(利用它的反向代理功能提供负载均衡支持)http { include mime.types;#文件扩展名与文件类型映射表 default_type application/octet-stream;#默认文件类型 #charset gb2312;#默认编码 #日志设定 #log_format main '$remote_addr - $remote_user [$time_local] "$request" ' # '$status $body_bytes_sent "$http_referer" ' # '"$http_user_agent" "$http_x_forwarded_for"'; #access_log logs/access.log main; #server_names_hash_bucket_size 128; #服务器名字的hash表大小 sendfile on; #tcp_nopush on;#防止网络阻塞 #tcp_nodelay on;#防止网络阻塞 #keepalive_timeout 0; keepalive_timeout 65;#超时时间 #FastCGI是为了改善网站的性能——减少资源占用,提高访问速度,详细资料:参阅 http://www.fastcgi.com #fastcgi_connect_timeout 300; #gzip on; #gzip_min_length 1k; #最小压缩文件大小 server { listen 80; server_name localhost; #charset koi8-r; #access_log logs/host.access.log main; location / { root html; index index.html index.htm; } #error_page 404 /404.html; # redirect server error pages to the static page /50x.html # error_page 500 502 503 504 /50x.html; location = /50x.html { root html; } # proxy the PHP scripts to Apache listening on 127.0.0.1:80 # #location ~ \.php$ { # proxy_pass http://127.0.0.1; #} # pass the PHP scripts to FastCGI server listening on 127.0.0.1:9000 # #location ~ \.php$ { # root html; # fastcgi_pass 127.0.0.1:9000; # fastcgi_index index.php; # fastcgi_param SCRIPT_FILENAME /scripts$fastcgi_script_name; # include fastcgi_params; #} # deny access to .htaccess files, if Apache's document root # concurs with nginx's one # #location ~ /\.ht { # deny all; #} } # another virtual host using mix of IP-, name-, and port-based configuration # #server { # listen 8000; # listen somename:8080; # server_name somename alias another.alias; # location / { # root html; # index index.html index.htm; # } #} # HTTPS server # #server { # listen 443; # server_name localhost; # ssl on; # ssl_certificate cert.pem; # ssl_certificate_key cert.key; # ssl_session_timeout 5m; # ssl_protocols SSLv2 SSLv3 TLSv1; # ssl_ciphers HIGH:!aNULL:!MD5; # ssl_prefer_server_ciphers on; # location / { # root html; # index index.html index.htm; # } #}}
研究完配置文件,对比了一下Tomcat服务器的配置,基本功能是一致的,现在我们单独摘除 首页配置
location / { root html; index index.html index.htm; }改为
location / { root html; index jiaozg.html index.html index.htm; }并在nginx-1.2.4\html 目录下添加自定义的文件jiaozg.html
<html><head><title>jiaozg</title><meta http-equiv="Content-Type" content="text/html; charset=utf-8" /></head><body bgcolor="white" text="black"><center><h1>欢迎来到jiaozg Nginx学习笔记页面</h1></center></body></html>
在命令号输入:
E:\nginx-1.2.4>nginx -s reload

注:
①如果Nginx未启动,可以在logs\error.log中查找原因
②如果日志文件没有被创建,可以在Windows事件日志中查找原因
③如果显示的是一个错误页面,而不是预期的页面,也可以在logs\error.log中查找原因
④尽管可以同时开多个Nginx线程,但是实际上只有其中一个在做所有的工作。一个Nginx可以处理 不超过1024个并发连接
ref:http://blog.csdn.net/m13666368773/article/details/8016673